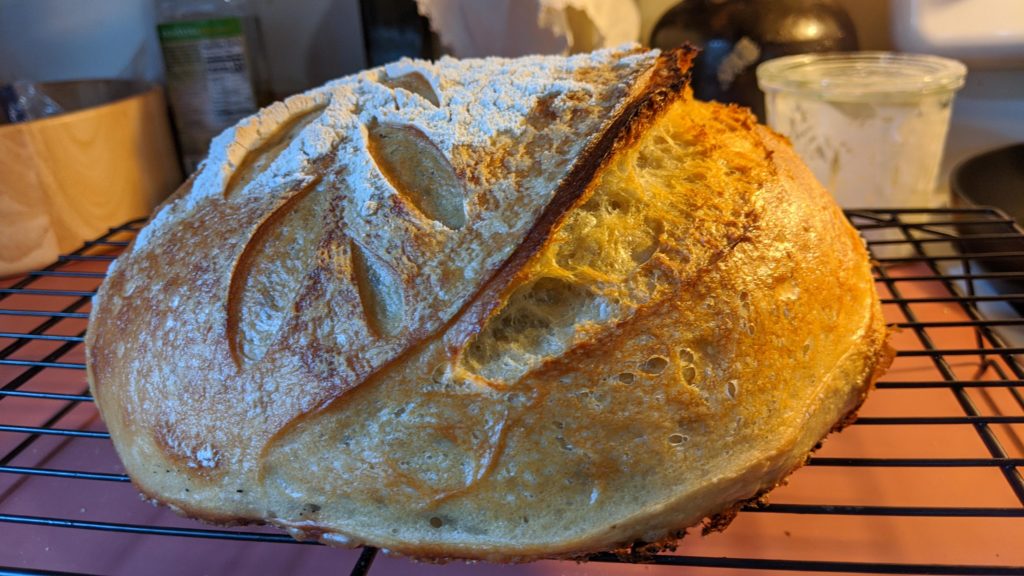
This has been a long time coming. Not because it is difficult but because I’ve been having too much fun baking sourdough bread. The first thing I’d like to say is that almost everything I read before starting in on sourdough was that it was highly technical and scales and measurements were crucial to success. Those things do help, but you do not need to print out a PDF or make a schedule in order to produce delicious bread.

The key to sourdough bread is that we are replacing the normal levining (yeast) with naturally occurring lactobacilli and yeast. The lactobacilli also is the source of sourdough’s tang. In order to gather the yeast and lactobacilli from nature, we need to have a great place for it to hang out and do its thing, this is the starter.
Taken straight from Wikipedia:
In the Encyclopedia of Food Microbiology, Michael Gaenzle writes: “The origins of bread-making are so ancient that everything said about them must be pure speculation. One of the oldest sourdough breads dates from 3700 BCE and was excavated in Switzerland, but the origin of sourdough fermentation likely relates to the origin of agriculture in the Fertile Crescent several thousand years earlier … Bread production relied on the use of sourdough as a leavening agent for most of human history; the use of baker’s yeast as a leavening agent dates back less than 150 years.”
Sourdough – Wikipedia
Taking this in mind, while precise measurements can be helpful in consistency, pricing, tracking variations — they are not roadblocks for you to make some good bread.
Doughcode tip: 1:1:1

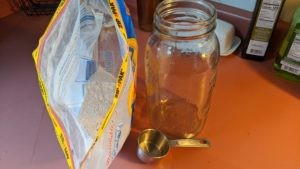
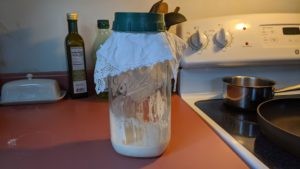
If you can remember 1:1:1 then you have the basics for making the starter. Grab a large mason jar, larger than a drink glass but not a huge one. I use a 64 oz jar and there is PLENTY of room. Wash and sanitize it thoroughly. Now take 1 cup of flour, I use all Purpose unbleached, and add it to the jar. Take 1 cup of water (tap, bottled, filtered) and add it as well. Stir until no dry flour remains. Cover loosely. You want to leave room for air to escape but not enough for bugs to get in. Cheesecloth or a dishtowel + rubber band work perfectly. Place this on your counter-top, out of the way, not in direct sunlight and check on it the next day. On day 2 you might see bubbles but do not fret if there are none. Now we get started on the feeding cycle.

1:1:1 refers to {flour}:{water}:{starter}. Take your jar and pour into another container one half of the starter. At this point we have 1/2 cup starter in the original jar. That means that we need 1/2cup flour and 1/2 cup water to feed. Pour in your 1/2 cup flour and 1/2 cup water into the start and mix thoroughly. Take your new jar that your poured the original starter into and put it in the refrigerator. NEVER throw away sourdough starter discard. You can add it to just about anything to add amazing flavor. Day 2 feeding is now done and your have mastered the technique of feeding your starter.
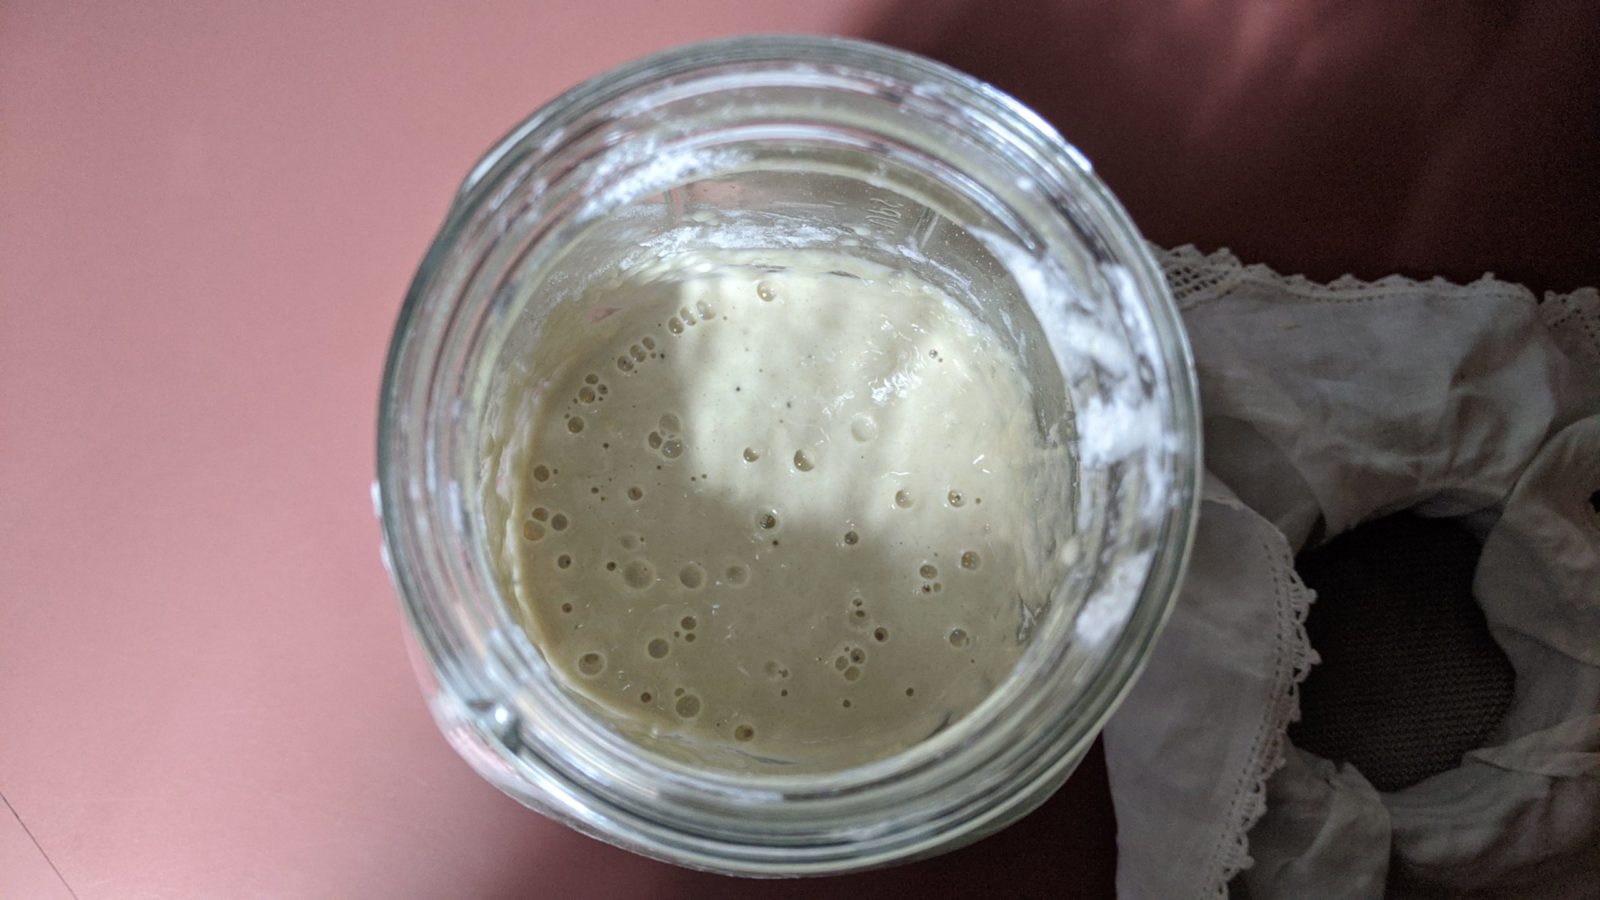
Day 3 begins with you repeating the same process from day 2. This is repeated anywhere from 6-12 days. You will know your sourdough is ready to begin baking when you notice a few things:
- Amazing sourdough smell. This will come quickly but do not jump the gun, it is not ready.
- The starter will double in size within 3-4 hours depending on room temp.
- The starter will fall back down by the end of the day.
While you are maintaining the health of your starter you are also gaining a lot of discard. Here is my recipe for discard biscuits. I have also added discard to make a tangy roux, pancakes and focaccia. I will be adding sourdough bread making recipes soon enough. Let me know if you have any questions or comments on making the starter.
